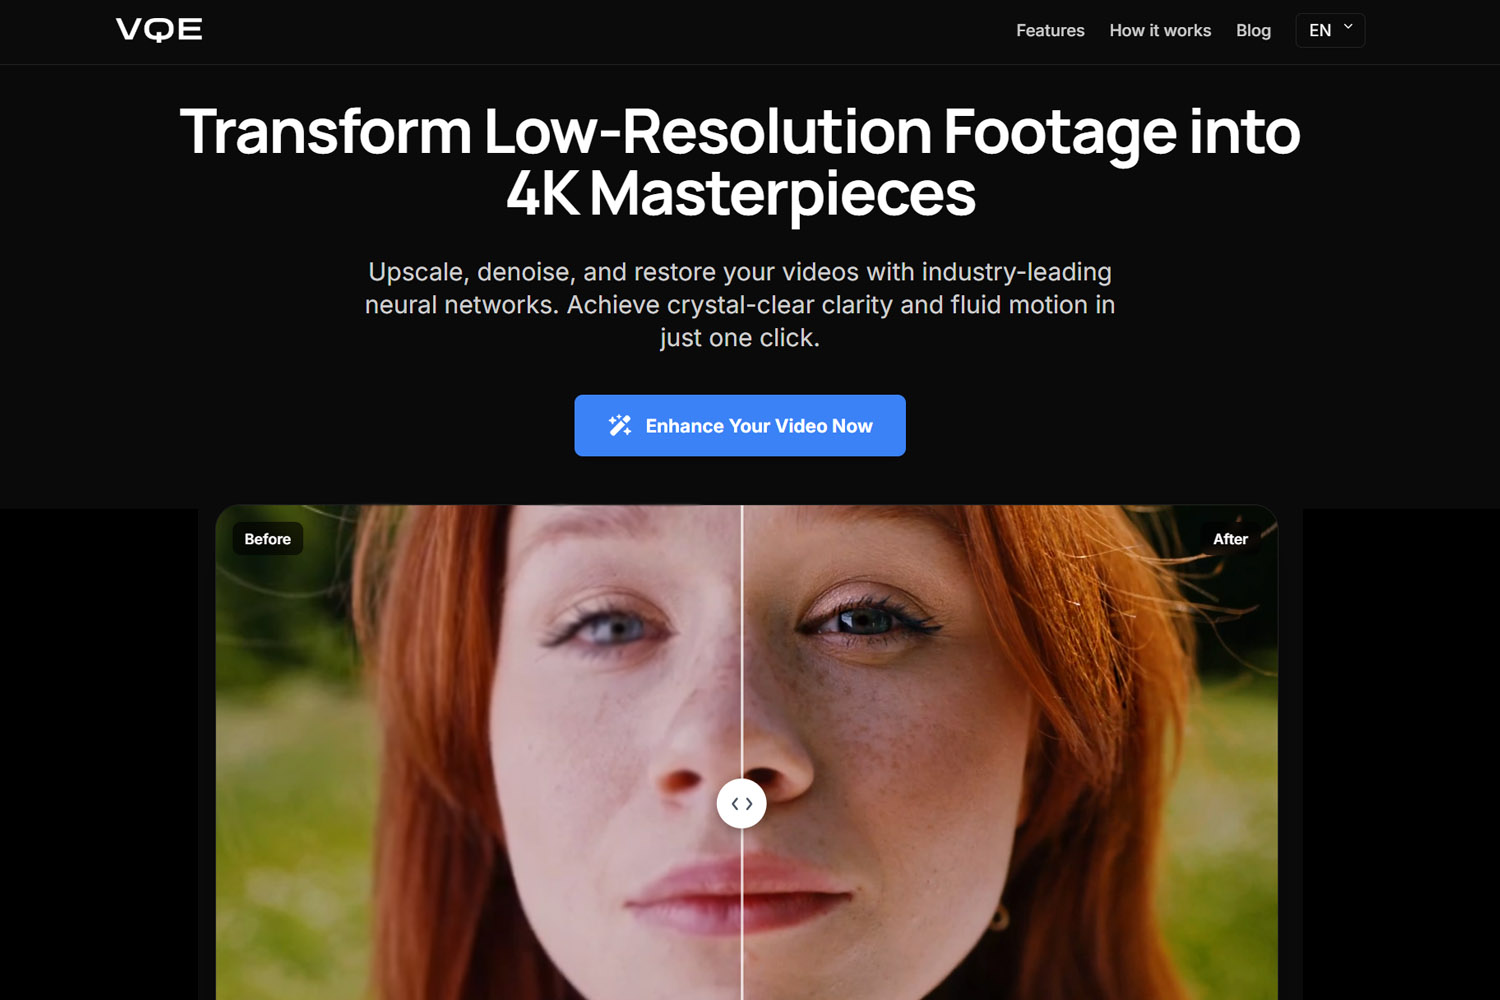
How to Enhance Video Quality: AI Upscaling Guide (2026)

Enhancing video quality requires understanding the entire pipeline from capture to export, and making smart decisions at each stage. Whether you're working with old family footage that needs restoration or new content that needs optimization, the principles remain the same: maximize what you have, fix what's broken, and preserve quality through every step.
This guide walks through four critical phases of video enhancement. We'll start with source optimization, move through manual post-production techniques, explore AI-powered tools, and finish with export mastery where many creators lose quality without realizing it. By the end, you'll understand not just what to do, but why each technique works and when to use it.
The Science of High-Quality Video
Before diving into techniques, it's important to set realistic expectations. Traditional video enhancement works by maximizing the information that exists in your footage. However, modern generative AI tools can go further—they use neural networks to reconstruct and create detail that wasn't originally captured, making them particularly powerful for restoring old footage or upscaling low-resolution content. Understanding this distinction helps you choose the right approach for each project.
There's a fundamental difference between restoring old footage and optimizing new content. Restoration focuses on fixing problems: removing noise, recovering lost detail, and correcting color shifts that happened over time. Optimization, on the other hand, enhances what's already good: sharpening edges, improving contrast, and ensuring the best possible export settings.
Both approaches require different tools and techniques, but they share one principle: quality compounds. Every step in your workflow either preserves or degrades quality. Making the right choices early means less work later and better final results.
Understanding the "Threshold of Recovery": When Enhancement is Worth Attempting
Every video has a threshold beyond which meaningful improvement becomes difficult or impossible. This threshold depends on resolution, bitrate, focus quality, motion blur, and compression artifacts. Understanding where your footage sits relative to this threshold helps you decide whether enhancement is worth the time and effort.
A well-lit 720p video with minimal compression can be enhanced dramatically, while a dark, heavily compressed 240p video with motion blur will produce disappointing results no matter which tool you use. The AI needs enough source information to make accurate predictions. Below a certain quality threshold, the AI is guessing more than analyzing, which produces unreliable results. For a detailed breakdown of when video quality enhancers actually work versus when they fail, see our guide on whether video quality enhancers work.
Choosing the Right Tool: Hardware, Budget, and Workflow Considerations
The best enhancement tool depends on your hardware capabilities, budget, and specific needs. Desktop software offers maximum control and quality but requires powerful GPUs and significant processing time. Cloud-based solutions eliminate hardware requirements but introduce considerations around privacy, upload time, and subscription costs. Mobile apps provide convenience for quick fixes and on-the-go processing, though they may have limitations in processing power and output quality compared to desktop or cloud solutions.
If you have a high-end GPU and need maximum quality, desktop software like Topaz Video AI provides professional-grade results. If you want professional-quality enhancement without hardware investment, cloud solutions like Video Quality Enhancer offer the same capabilities through your browser. For quick social media fixes or when working on mobile devices, mobile apps can provide convenient enhancement options. For a comprehensive comparison of tools across every budget and hardware level, check our best video quality enhancer guide. For mobile-specific options and app recommendations, see our guide on the best apps to enhance video quality.

Phase 1: Source Optimization (The "Garbage In, Garbage Out" Rule)
This principle guides everything in source optimization: maximize what exists in your footage. Quality starts at capture, not in post-production. The goal is to capture the highest quality footage possible, which means controlling variables that affect image quality before you even press record.
Camera Settings: Locking Focus and Maximizing Bitrate
Modern cameras offer extensive control, but many creators leave settings on auto and hope for the best. Manual control gives you consistency and quality. Start by locking focus and exposure. Auto-focus systems hunt and adjust constantly, creating subtle quality variations. Manual focus ensures your subject stays sharp throughout the shot.
Exposure works the same way. Auto-exposure compensates for changing light, which can introduce noise in darker areas or blow out highlights. Locking exposure maintains consistent quality and gives you predictable results for color grading later.
Bitrate matters more than resolution for perceived quality. A 1080p video recorded at 50 Mbps often looks better than a 4K video at 10 Mbps because the higher bitrate preserves more detail and reduces compression artifacts. Check your camera's settings and choose the highest bitrate available. This extra data gives you more flexibility in post-production and prevents quality loss from the start.
Lighting: How Clean Light Reduces Digital Noise
Lighting affects video quality in ways that aren't immediately obvious. Clean, even lighting doesn't just make your footage look better; it reduces the digital noise that cameras introduce in low-light situations. When a camera sensor doesn't receive enough light, it amplifies the signal, which also amplifies noise.
This noise shows up as grain or color speckles, especially in darker areas of the frame. While AI denoising tools can remove some of this later, they work better when there's less noise to begin with. Proper lighting at the source means less processing needed in post-production, which preserves more detail and natural texture.
The key is understanding that lighting quality matters more than lighting quantity. A well-lit scene with soft, even light produces cleaner footage than a dimly lit scene with harsh shadows, even if both have the same overall brightness. This clean light gives your camera's sensor more accurate information to work with, resulting in footage that's easier to enhance later.
Phase 2: Manual Post-Production Fixes
Manual techniques give you precise control over every aspect of your footage. While AI tools can automate some processes, understanding manual methods helps you make better decisions about when to use automation and when to do things by hand.
Color Correction vs. Grading: Creating Depth That Makes Video Look Higher Resolution

Color correction and color grading serve different purposes, but both contribute to perceived video quality. Correction fixes problems: balancing exposure, removing color casts, and ensuring accurate skin tones. Grading creates mood and depth, which can make footage appear sharper and more detailed than it actually is.
The depth effect comes from contrast and color separation. When you enhance contrast between different areas of the frame, you create visual separation that makes details pop. The goal is creating relationships between colors and tones that guide the viewer's eye and enhance perceived sharpness, rather than simply making everything brighter or more saturated.
Professional colorists use this technique to make footage look more expensive. By carefully adjusting shadows, midtones, and highlights separately, you can create a three-dimensional feel that makes flat footage appear more detailed. This works because our brains interpret contrast and color relationships as indicators of quality and depth.
Smart Sharpening: Enhancing Edges Without Creating Halos
Sharpening enhances edges, but it's easy to overdo it and create halos or artifacts. The key is understanding how sharpening works: it increases contrast along edges, making them more defined. Too much sharpening creates white or dark lines around edges, which looks unnatural and reduces perceived quality.
Smart sharpening techniques apply sharpening selectively. Instead of sharpening the entire frame equally, you can use masks to sharpen only important areas like faces or text while leaving backgrounds soft. This keeps the cinematic look while making key elements pop.
Another technique involves using different sharpening algorithms for different types of content. Unsharp mask works well for general footage, while high-pass filtering can enhance fine details without affecting larger areas. The goal is always the same: enhance what matters without introducing artifacts that distract from the content.
Stabilization: Fixing Shaky Footage Without Warping

Stabilization software can fix shaky footage, but it comes with trade-offs. Most stabilization works by cropping and warping the frame to compensate for movement. This works well for small movements, but large shakes require more aggressive correction, which can create warping or distortion.
The warping happens because stabilization software stretches and compresses parts of the frame to align everything. When movement is extreme, this stretching becomes visible, especially around the edges of the frame. You'll notice objects bending or curving unnaturally, which looks worse than the original shake.
The solution is to use stabilization sparingly and only when necessary. For footage with minor shake, stabilization can improve quality significantly. For footage with major shake, consider whether the warping artifacts are worth the trade-off, or if it's better to reshoot the scene. Sometimes accepting minor shake is better than introducing digital artifacts that reduce perceived quality.
Phase 3: The AI Revolution (Upscaling & Restoration)
AI tools have transformed video enhancement, making techniques that were once exclusive to high-end studios available to everyone. These tools use neural networks trained on millions of video frames to understand how to enhance footage intelligently. Web-based platforms like Video Quality Enhancer bring these capabilities directly to your browser, eliminating the need for expensive software or powerful hardware while delivering professional-grade results.
Understanding the difference between desktop and cloud processing helps you choose the right approach. Desktop software processes videos locally on your GPU, requiring powerful hardware but providing maximum privacy and control. Cloud-based solutions process videos on remote servers, eliminating hardware requirements but introducing considerations around upload time, privacy, and subscription costs. For sensitive content like family videos or corporate material, local processing ensures your videos never leave your device. For general use or when hardware is limited, cloud solutions offer convenience without compromising quality. Learn more about safety and privacy considerations when choosing enhancement tools.
AI Upscaling: Turning 1080p into 4K Using Neural Networks
AI upscaling uses neural networks to predict what higher resolution footage would look like. Unlike traditional upscaling, which simply stretches pixels, AI upscaling analyzes patterns and textures to create new detail. This works because neural networks learn from training data what detail should look like at different resolutions.
The 2x rule is important here. When upscaling, never go beyond 2x the original resolution unless using specialized generative AI. Going from 1080p to 4K is exactly 2x, which is the safe limit. Beyond this, AI starts creating detail that looks artificial or "waxy." The neural network is guessing what detail should exist, and beyond 2x, those guesses become less reliable.
For extreme upscaling, use a multi-step approach. If you need to go from 480p to 4K, don't attempt it in one step. Instead, upscale to 720p first, apply light denoising, then upscale to 1080p, and finally to 4K. This multi-step approach prevents the AI from getting overwhelmed by complex noise and compression artifacts. Each step gives the AI cleaner source material to work with, producing better final results than a single extreme upscale.
Tools like Topaz Video Enhance AI, Video Quality Enhancer, and CapCut's AI features use different neural network models optimized for different types of content. Some work better for faces, others for landscapes, and others for text or graphics. Understanding which model to use for your content type improves results significantly. The key is matching the AI model to your content type, not just using the default setting. Web-based tools like Video Quality Enhancer offer the advantage of processing videos directly in your browser without requiring powerful hardware, making AI upscaling accessible to creators working on any device.

If your video contains people, face recovery is essential. General upscalers treat faces like any other texture, often creating a "waxy" or unnatural appearance. Face recovery models understand facial structure, skin texture, and features, allowing them to enhance faces while maintaining natural appearance. This is crucial because human brains focus on faces—if faces look wrong, the entire video feels off, even if backgrounds are perfectly enhanced. For footage with people, always use tools with specialized face recovery capabilities.

Denoising: Removing Grain from Low-Light Videos Without Losing Detail

AI denoising removes noise while preserving detail, which is a difficult balance. Traditional denoising blurs everything, removing noise but also losing fine details. AI denoising is smarter: it learns to distinguish between noise and detail, removing one while preserving the other.
This works because neural networks understand what detail should look like. They've been trained on clean footage, so they know that skin texture should be smooth but not blurry, that fabric should have weave patterns but not random speckles, and that edges should be sharp but not noisy. This understanding lets them remove noise selectively.
The challenge is that some noise looks like detail, especially in textured surfaces. AI denoising tools handle this by analyzing temporal information across multiple frames. Noise is random and changes between frames, while real detail is consistent. By comparing frames, the AI can identify what's noise and what's detail, removing one while keeping the other. Modern AI denoising tools like Video Quality Enhancer use temporal consistency algorithms to ensure flicker-free results, maintaining stability across frames while removing noise that would otherwise degrade the footage.
Temporal consistency is crucial for perceived quality. A single frame might look great after enhancement, but if the improvement "flickers" or "wobbles" over several seconds, the quality actually decreases for the human eye. Advanced tools process videos with full temporal awareness, using information from surrounding frames to maintain consistency throughout the entire sequence. This prevents the frame-to-frame variations that plague single-frame processing.
Frame Interpolation: Converting 24fps to Smooth 60fps
Frame interpolation creates new frames between existing ones, converting 24fps or 30fps footage to 60fps for smoother playback. This works by analyzing motion between frames and predicting what intermediate frames should look like. The AI understands how objects move, so it can create realistic in-between frames.
This technique is particularly useful for slow-motion effects. Instead of just slowing down 24fps footage, which creates choppy playback, frame interpolation creates smooth 60fps footage that can be slowed down while maintaining fluidity. The result is professional-looking slow motion from standard frame rate footage. Tools that combine frame interpolation with upscaling and denoising, like Video Quality Enhancer, can process multiple enhancement tasks in a single workflow, saving time while maintaining quality throughout the pipeline.
The quality depends on the motion in your footage. Simple, predictable motion interpolates well, while complex motion with many overlapping objects can create artifacts. Fast-moving objects with motion blur are particularly challenging because the AI has to guess what's hidden in the blur. Understanding these limitations helps you choose when frame interpolation will improve quality and when it might introduce problems.
Restoring Old Family Tapes: The Deinterlacing Requirement
If you're restoring old VHS tapes or other analog formats, deinterlacing is essential before any AI enhancement. VHS and other analog formats use interlaced scanning, where each frame is split into two fields. Modern displays expect progressive video, so interlaced footage needs deinterlacing before enhancement, or you'll get "zebra stripes" in your enhanced video.
Tools that support proper deinterlacing algorithms (like Dione models) can handle this automatically, but it's essential to use a tool with this capability. Without proper deinterlacing, any enhancement will produce artifacts. This is one reason why specialized restoration tools often produce better results for old family videos than general-purpose enhancers. For more on what can and cannot be improved in video quality, including specific techniques for old footage, see our guide on whether video quality can be improved.
Phase 4: The Export Mastery (Where Quality is Often Lost)
Export settings determine final quality more than many creators realize. You can do everything right in capture and post-production, but poor export settings will destroy that quality. Understanding codecs, bitrates, and platform requirements prevents this loss.
The Bitrate Secret: Why High Bitrate 1080p Beats Low Bitrate 4K
Bitrate determines how much data is used to represent each second of video. Higher bitrate means more data, which means better quality. This is why a 1080p video with high bitrate often looks better than a 4K video with low bitrate. Resolution tells you how many pixels you have, but bitrate tells you how much information each pixel contains.
The problem is that many creators focus on resolution and ignore bitrate. They export in 4K because it sounds better, but use default bitrate settings that are too low. The result is 4K footage that looks blurry or compressed because there isn't enough data to represent all those pixels properly.
For 4K video, you need bitrates between 35-50 Mbps to maintain quality. Lower bitrates work for 1080p, but 4K has four times as many pixels, so it needs roughly four times the bitrate. Uploading a 4K video to YouTube at 10 Mbps will look like a blurry mess because YouTube's compression can't work with such limited data. Understanding this relationship between resolution and bitrate helps you make better export decisions.
Codecs Explained: Choosing Between H.264 and H.265
Codecs compress video to reduce file size, but they do it differently. H.264 is the universal standard, compatible with everything but less efficient. H.265 (also called HEVC) is more efficient, creating smaller files at the same quality, but it requires more processing power and isn't supported everywhere.
The efficiency difference is significant. H.265 can create files that are 50% smaller than H.264 at the same quality level. This means you can use lower bitrates with H.265 and still maintain quality, or use the same bitrate and get better quality. The trade-off is that H.265 encoding takes longer and requires more powerful hardware.
For most creators, H.264 is still the safe choice because it works everywhere. YouTube, social media platforms, and video players all support it universally. H.265 is better for archival or distribution where you control the playback environment, but for general use, H.264's compatibility outweighs its efficiency limitations.
Platform-Specific Settings: Best Practices for YouTube, Instagram, and TikTok
Each platform has different requirements and compression algorithms. Understanding these helps you optimize exports for each platform, ensuring your content looks its best wherever it's viewed.
YouTube accepts high bitrate uploads and re-encodes everything. The key is uploading at higher quality than YouTube's minimum requirements so the re-encoding has good source material to work with. For 1080p, upload at 8-12 Mbps. For 4K, use 35-50 Mbps. YouTube will compress this, but starting with high quality means the compressed version still looks good.
Here's a YouTube-specific trick: Even if your source footage is 1080p, exporting and uploading in 4K triggers YouTube's VP9 codec, which provides better quality processing than the H.264 codec used for 1080p uploads. This means viewers get better quality even when watching at 1080p. Tools like Video Quality Enhancer can upscale your 1080p footage to 4K before upload, ensuring you get VP9 processing and better quality on YouTube. For more platform-specific optimization techniques, see our guide on how to fix video quality.
Instagram and TikTok have stricter limits and more aggressive compression. These platforms prioritize fast loading over quality, so they compress heavily. The best approach is to export at the exact resolution they expect and use slightly higher bitrates than their minimums. This gives their compression algorithms better source material, resulting in better final quality.
The platform-specific approach means creating different exports for different platforms. It's more work, but the quality difference is noticeable. A video optimized for YouTube will look over-compressed on Instagram, while a video optimized for Instagram will look under-optimized on YouTube. Matching your export to the platform ensures the best possible quality for each audience.
Bonus: The "Hidden" Quality Factors
Some quality factors aren't immediately obvious but significantly affect how viewers perceive your video quality. These subtle techniques can make footage appear higher quality without changing resolution or bitrate.
Measuring Quality: The VMAF Metric
Quality improvement isn't just subjective—it's measurable. Platforms like Netflix and YouTube use the VMAF (Video Multi-method Assessment Fusion) metric to assess video quality. This metric combines multiple quality measurements into a single score that correlates with human perception. Understanding that quality is measurable helps you verify that your enhancements actually worked, rather than just hoping they improved things.
Videos with higher VMAF scores look better to viewers, even if they're technically the same resolution. When enhancement tools improve your video's VMAF score, you're getting objectively better quality, not just a different look. This measurable approach helps you make data-driven decisions about which enhancement techniques provide the best results for your specific footage.
Audio Enhancement: Why Crisp Audio Makes People Think Video Resolution is Higher
Audio quality affects perceived video quality more than most creators realize. Viewers associate clear, professional audio with high-quality video production. When audio is crisp and well-mixed, people assume the video is also high quality, even if the resolution is standard.
This psychological connection works because our brains process audio and video together. When one element is high quality, we assume the other is too. Poor audio makes everything feel amateur, while good audio elevates the entire production. This is why professional productions invest as much in audio as video.
AI background noise removal tools can clean up audio significantly. These tools identify and remove constant background sounds like air conditioning hum, traffic noise, or electrical interference while preserving speech and important sounds. The result is cleaner audio that makes the entire video feel more professional and higher quality.
The "Film Grain" Trick: Masking Compression Artifacts
Adding subtle film grain can actually improve perceived quality by masking compression artifacts. This seems counterintuitive, but it works because grain provides texture that hides the blocky patterns that compression creates. The grain gives the eye something to focus on besides the compression artifacts.
The key is subtlety. Too much grain looks artificial and reduces quality, but a light layer of grain can make footage feel more cinematic and hide compression issues. This technique is particularly useful for footage that will be heavily compressed, like content for social media platforms.
Professional colorists use this technique regularly. They add grain in post-production not just for aesthetic reasons, but because it helps footage survive compression better. The grain breaks up the smooth areas where compression artifacts are most visible, making the final compressed version look cleaner.
Test Renders: The 5-Second Stress Test
Before committing to a long export, render a 5-second test of the darkest or most complex part of your video. This stress test reveals problems early, saving hours of export time and preventing disappointment when you discover issues in the final render.
Dark scenes are particularly challenging because compression algorithms struggle with them. Low light footage has less information, so compression artifacts are more visible. Testing the darkest part of your video ensures your export settings can handle it. If the test looks good, the rest of your video will too.
Complex scenes with lots of motion or detail also benefit from testing. These scenes push compression algorithms to their limits, so they reveal whether your bitrate and codec settings are adequate. A 5-second test takes minutes instead of hours, making it a valuable quality control step.
Hardware Limitations: Working Within Your System's Capabilities
If you're working with limited hardware, understanding your system's capabilities prevents frustration and hardware damage. Desktop AI enhancement is computationally intensive and can stress your GPU significantly. Most modern GPUs have thermal protection, but understanding safe operating temperatures (typically 80-83°C for NVIDIA GPUs) helps you use your hardware safely.
For slower computers, proxy editing allows you to work with lower-resolution versions during editing, then apply your enhancements to full-resolution originals during export. This lets you fix quality issues even on hardware that can't handle full-resolution playback. Cloud-based solutions eliminate hardware concerns entirely, making professional enhancement accessible regardless of your local setup. For detailed guidance on hardware safety and thermal management, see our safety guide for video enhancement tools.
Conclusion
Enhancing video quality is a process that spans from capture to export. Each phase offers opportunities to improve quality, but also risks of losing it. Understanding the principles behind each technique helps you make better decisions and achieve better results.
The most important principle is that quality compounds. Good decisions early in the process make everything easier later. Starting with high-quality source footage means less work in post-production. Using the right export settings preserves all that work in the final file. Skipping any step reduces the potential quality of your final video.
Remember that enhancement has limits with traditional techniques, but modern generative AI can reconstruct detail that wasn't originally captured using neural networks trained on vast datasets. Focus on techniques that preserve and enhance existing information, and leverage AI tools when you need to go beyond what traditional methods can achieve. This balanced approach leads to better results and less frustration.
The tools and techniques available today make professional-quality enhancement accessible to everyone. Whether you're using manual color correction, AI upscaling tools like Video Quality Enhancer, or smart export settings, the key is understanding why each technique works and when to use it. With this knowledge, you can enhance video quality effectively at every stage of your workflow, from restoring old family videos to optimizing new content for modern platforms.